
English translation at bottom of German text.
Manchmal gibt es im Audio-Bereich Neuerungen, die einen wirklichen Fortschritt darstellen.
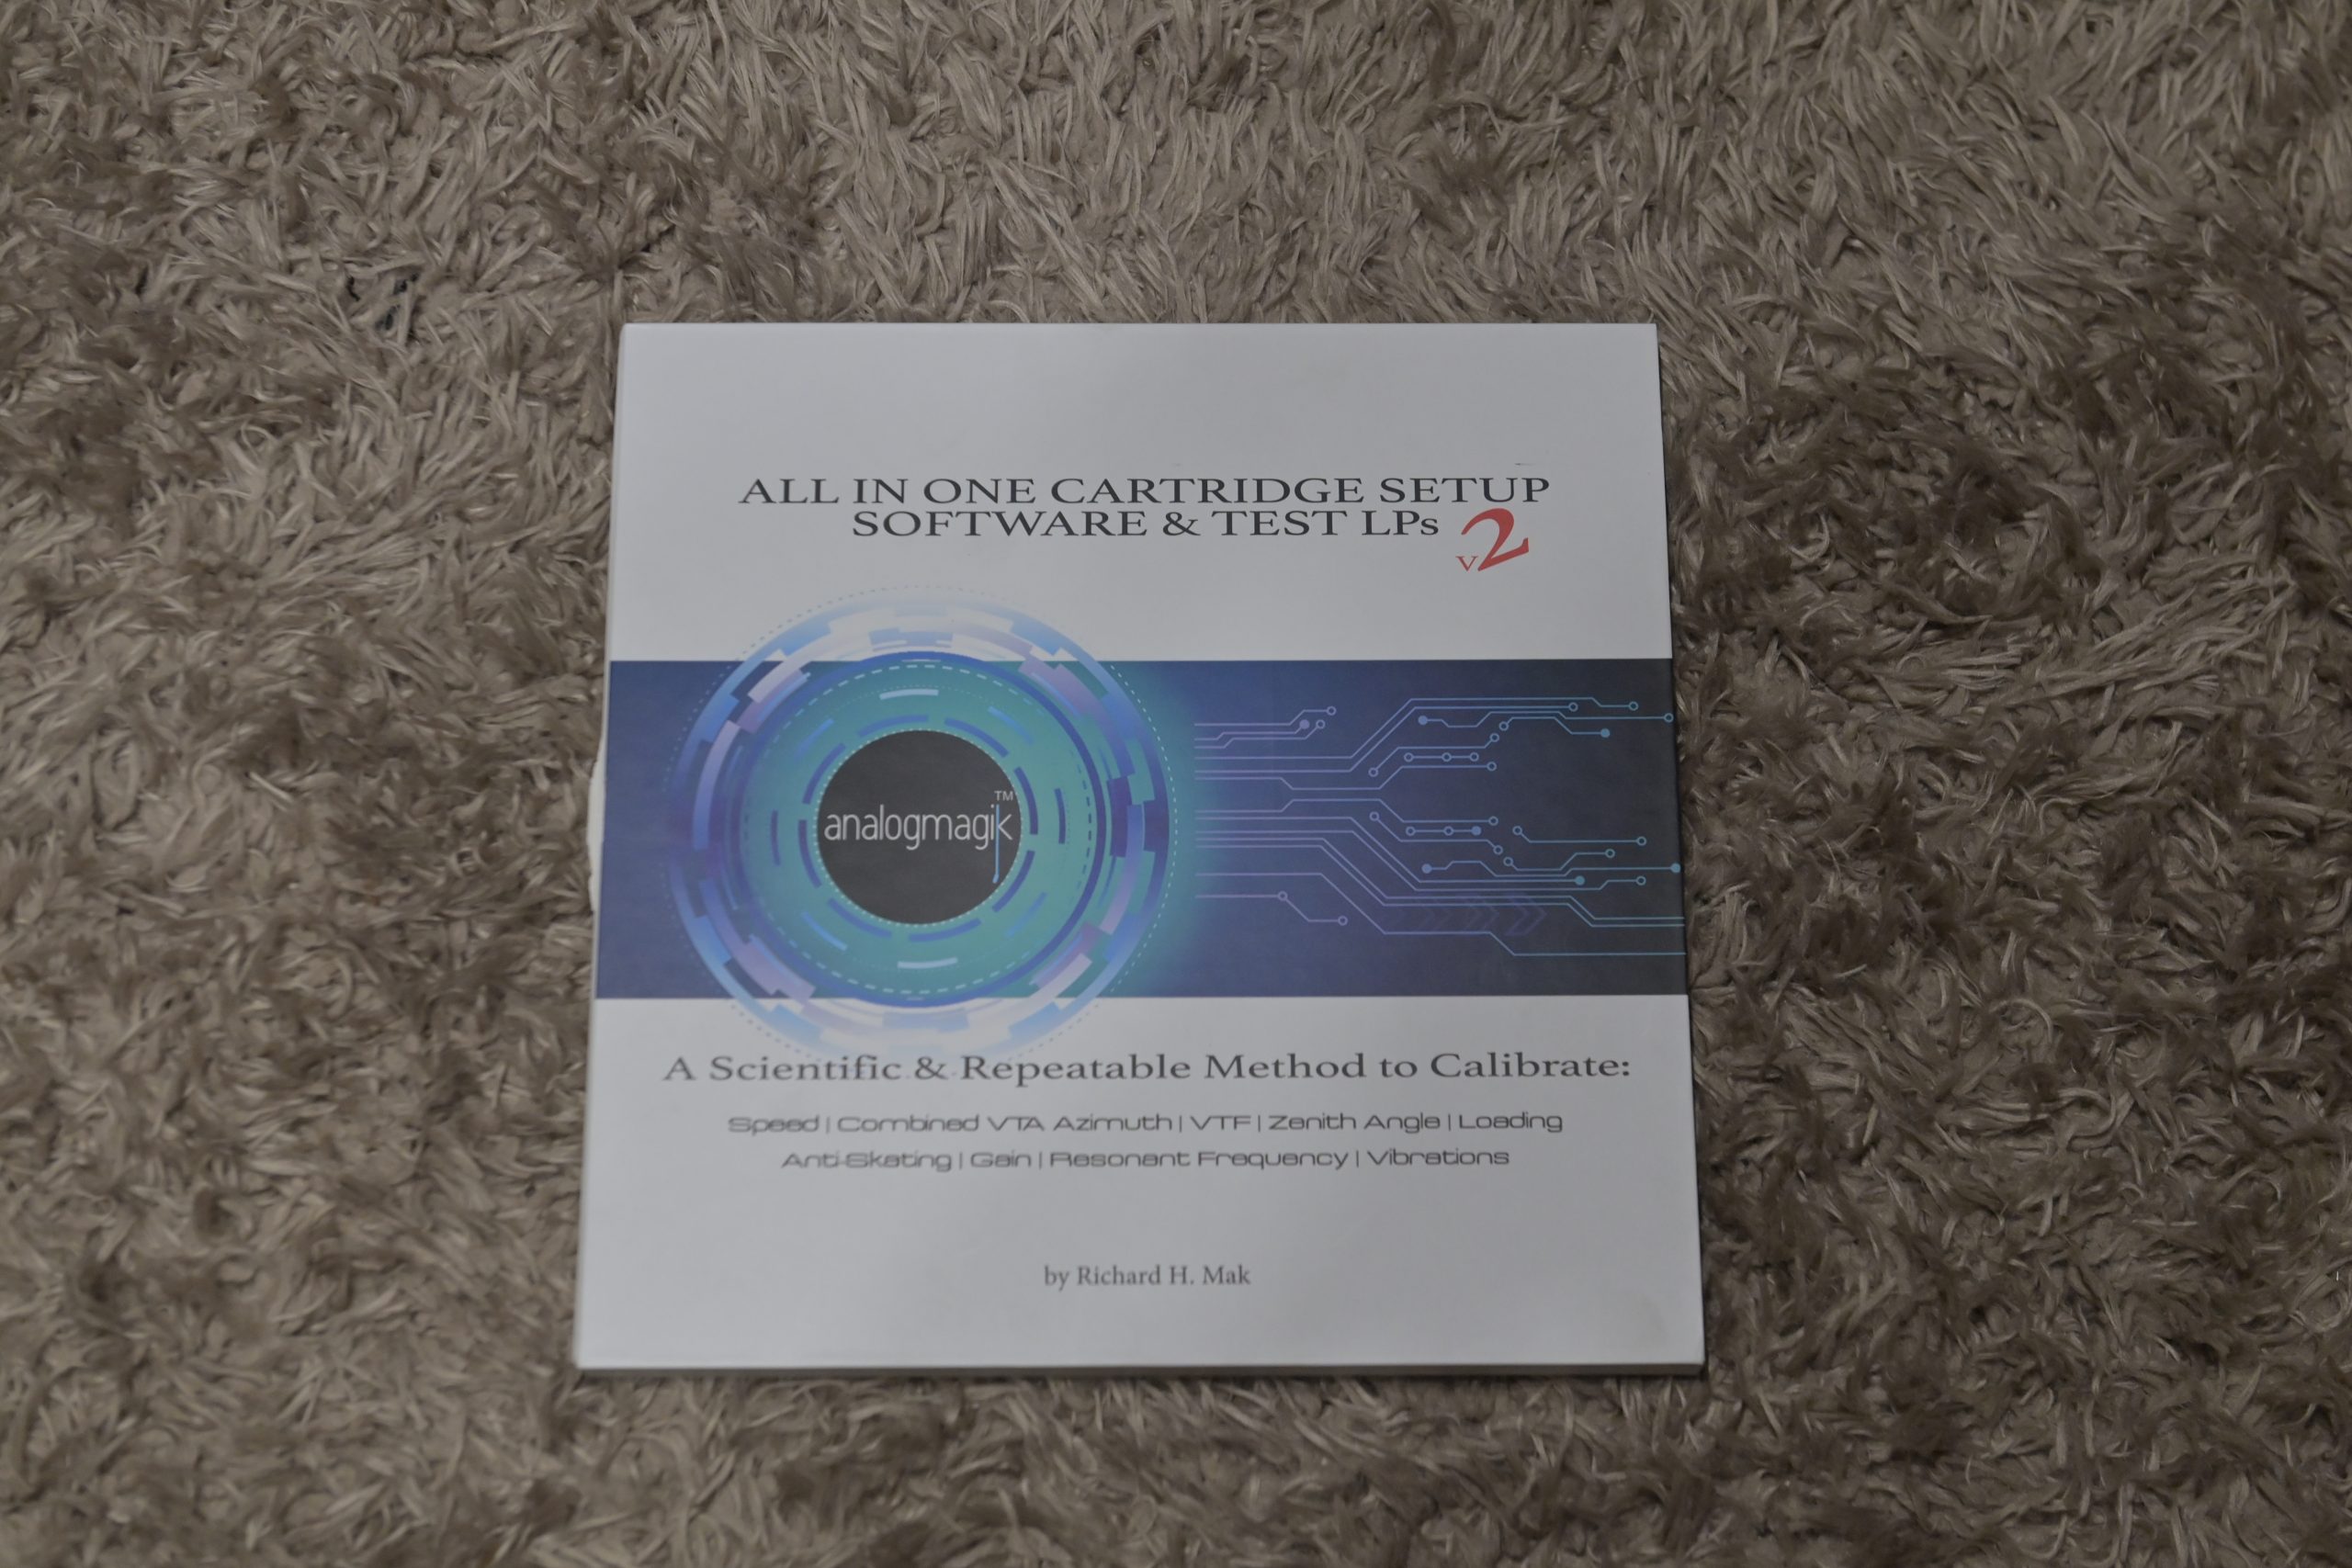
Das System von AnalogMagik ( AnalogMagik) als V2 Version gehört eindeutig dazu! Warum stellt dieses System eine so bahnbrechende Verbesserung dar? Dazu muss ich etwas weiter ausholen und den Montage- und Einstellvorgang eines Tonabnehmers etwas erklären.
Ich gehe mal davon aus, dass man einen Tonarm mit vernünftiger Geometrie hat. Dann schraubt man den Tonabnehmer an die Headshell und beginnt mit der mechanischen Grund Justage. Ich nehme dazu einerseits die Schablone von Acoustical Systems (Acoustical Systems Smart Tractor) Hier wird ein optimaler Abtastpunkt , je nach gewählter Geometrie festgelegt und man misst gleichzeitig den Abstand zwischen Plattentellerachse und Drehpunkt des Tonarms. Die Schablone ist sehr gut gefertigt und genau. Zur Kontrolle drucke ich mit einem Programm eine eigene Schablone mit der gewählten Geometrie und dem oben gemessenen Abstand zwischen Plattentellerachse und Drehpunkt aus. Diese Schablone hat dann die zwei Nulldurchgänge markiert. Anhand dieser messe ich also an 3 Punkten, ob die mechanische Einstellung stimmt. Mit Tonabnehmern, deren Gehäuse keine geraden Kannten hat und/oder wo der Nadelträger tief unter dem Gehäuse sitzt kann das rein optisch recht schwierig werden. Mit guter Beleuchtung und Lupe oder USB-Mikroskop aber zu bewerkstelligen. Das Tonabnehmersystem wird als Startposition so montiert, dass es von vorne genau rechtwinklig zur Platte steht und von der Seite gesehen genau parallel zur Platte steht. Dann noch die Auflagekraft auf die Mitte des vom Hersteller empfohlenen Bereichs einstellen und, wäre alles optimal, wäre man schon fertig!
Ist aber leider nicht so! Oft sitzt nämlich der Diamant nicht ganz optimal im Nadelträger. Streuungen bis zu 2“ habe ich schon häufiger gemessen, auch bei hochpreisigen Top-Tonabnehmern.
Hier fängt jetzt die Arbeit der messtechnischen Feineinstellung an. Da ist zuerst die Frage: Welche Parameter müssen unter Umständen justiert werden? Auflagekraft das ist klar. Azimut, wenn die Nadel nicht optimal gerade (von vorne gesehen) montiert ist. Dann VTA bzw. SRA Diese Abkürzungen Vertical Tracking Angle und Stylus Rake Angle beschreiben im Grunde denselben Parameter, nämlich mit welchem Winkel der Diamant von der Seite gesehen in die Plattenrille eintaucht. Nach landläufiger Meinung sind hier 92° optimal. Dann gibt es noch den Zenit-Winkel – wenn man von oben auf den Tonabnehmer schaut, ob der Diamant da genau rechtwinklig zum Nadelträger steht, oder leicht verdreht montiert wurde. Alle Parameter beeinflussen sich übrigens gegenseitig!
Jeder MC Tonabnehmer hat bauartbedingt eine hochfrequente Resonanz. Diese bedämpft man mit einem entsprechenden Lastwiderstand, sollte es erforderlich sein.
Dann gibt es noch die Trackability – also die Modulation in µm die ein Tonabnehmer verzerrungsfrei abtasten kann. Mindestens 60µm sollten erreicht werden.
Ein weiteres Thema ist Antiskating: Hintergrund: Durch die Kröpfung des Tonarms wird dieser beim Abspielen modulationsabhängig nach innen gezogen. Dadurch wird eine Rillenflanke mehr belastet. Um dies auszugleichen „zieht“ man den Tonarm nach außen, z.B. mit Gewicht oder Magnet. Ist eine suboptimale Lösung, da diese Kompensation nie genau sein kann. Die gute Nachricht bei 12“ Tonarmen (oder länger) und mehr als ca. 2g Auflagekraft braucht man Skating Kompensation nicht…
Der Vollständigkeit halber misst man mit einem niederfrequenten Sweep auf einer Testschallplatte noch die horizontale und vertikale Resonanzfrequenz. Diese sollte im Bereich zwischen 8 Hz und 12 Hz liegen. Liegt sie tiefer, ist der Tonarm zu schwer und/oder die Nadel Nachgiebigkeit zu hoch (In Datenblättern als „Compliance“ angegeben). Umgekehrt bei zu hoher Resonanzfrequenz Tonarm zu leicht oder Nadel Nachgiebigkeit zu gering. Warum dieser Bereich zwischen 8-12 Hz? Nun darunter hat man bei ca. 2 Hz Anregungen durch exzentrische oder verwellte Platten (bei 33,3 rpm) – davon will man Abstand halten. Bei 20 Hz können schon (sehr selten) Signale auf der Schallplatte sein. Man hat also einen Bereich ausgewählt, in dem die Resonanzfrequenz aus Nadel Nachgiebigkeit und Tonarmgewicht in einem Bereich liegt, der möglichst wenig zusätzliche Störungen verursacht.
Gleichlaufkonstanz und Drehzahl misst man natürlich auch.
Mit AnaloMagik kann man alle der vorher genannten Messungen durchführen und die Parameter einstellen und optimieren. Früher brauchte man dafür mehrere Gerätschaften, z.B. Audio Analyzer, Oszilloskop, diverse Messchallplatten, Drehzahlmesser, etc…
Hier hat man alles zusammen und die entscheidenden Parameter werden viel genauer gemessen. Insbesondere deren gegenseitige Beeinflussung. Dazu sind auf den Testschallplatten die entsprechenden Signale in einer neuen Konfiguration, die es bisher so nicht gab vorhanden.
Nun zur genaueren Beschreibung:
Die zu verwendende Sound Karte ist vorgegeben.
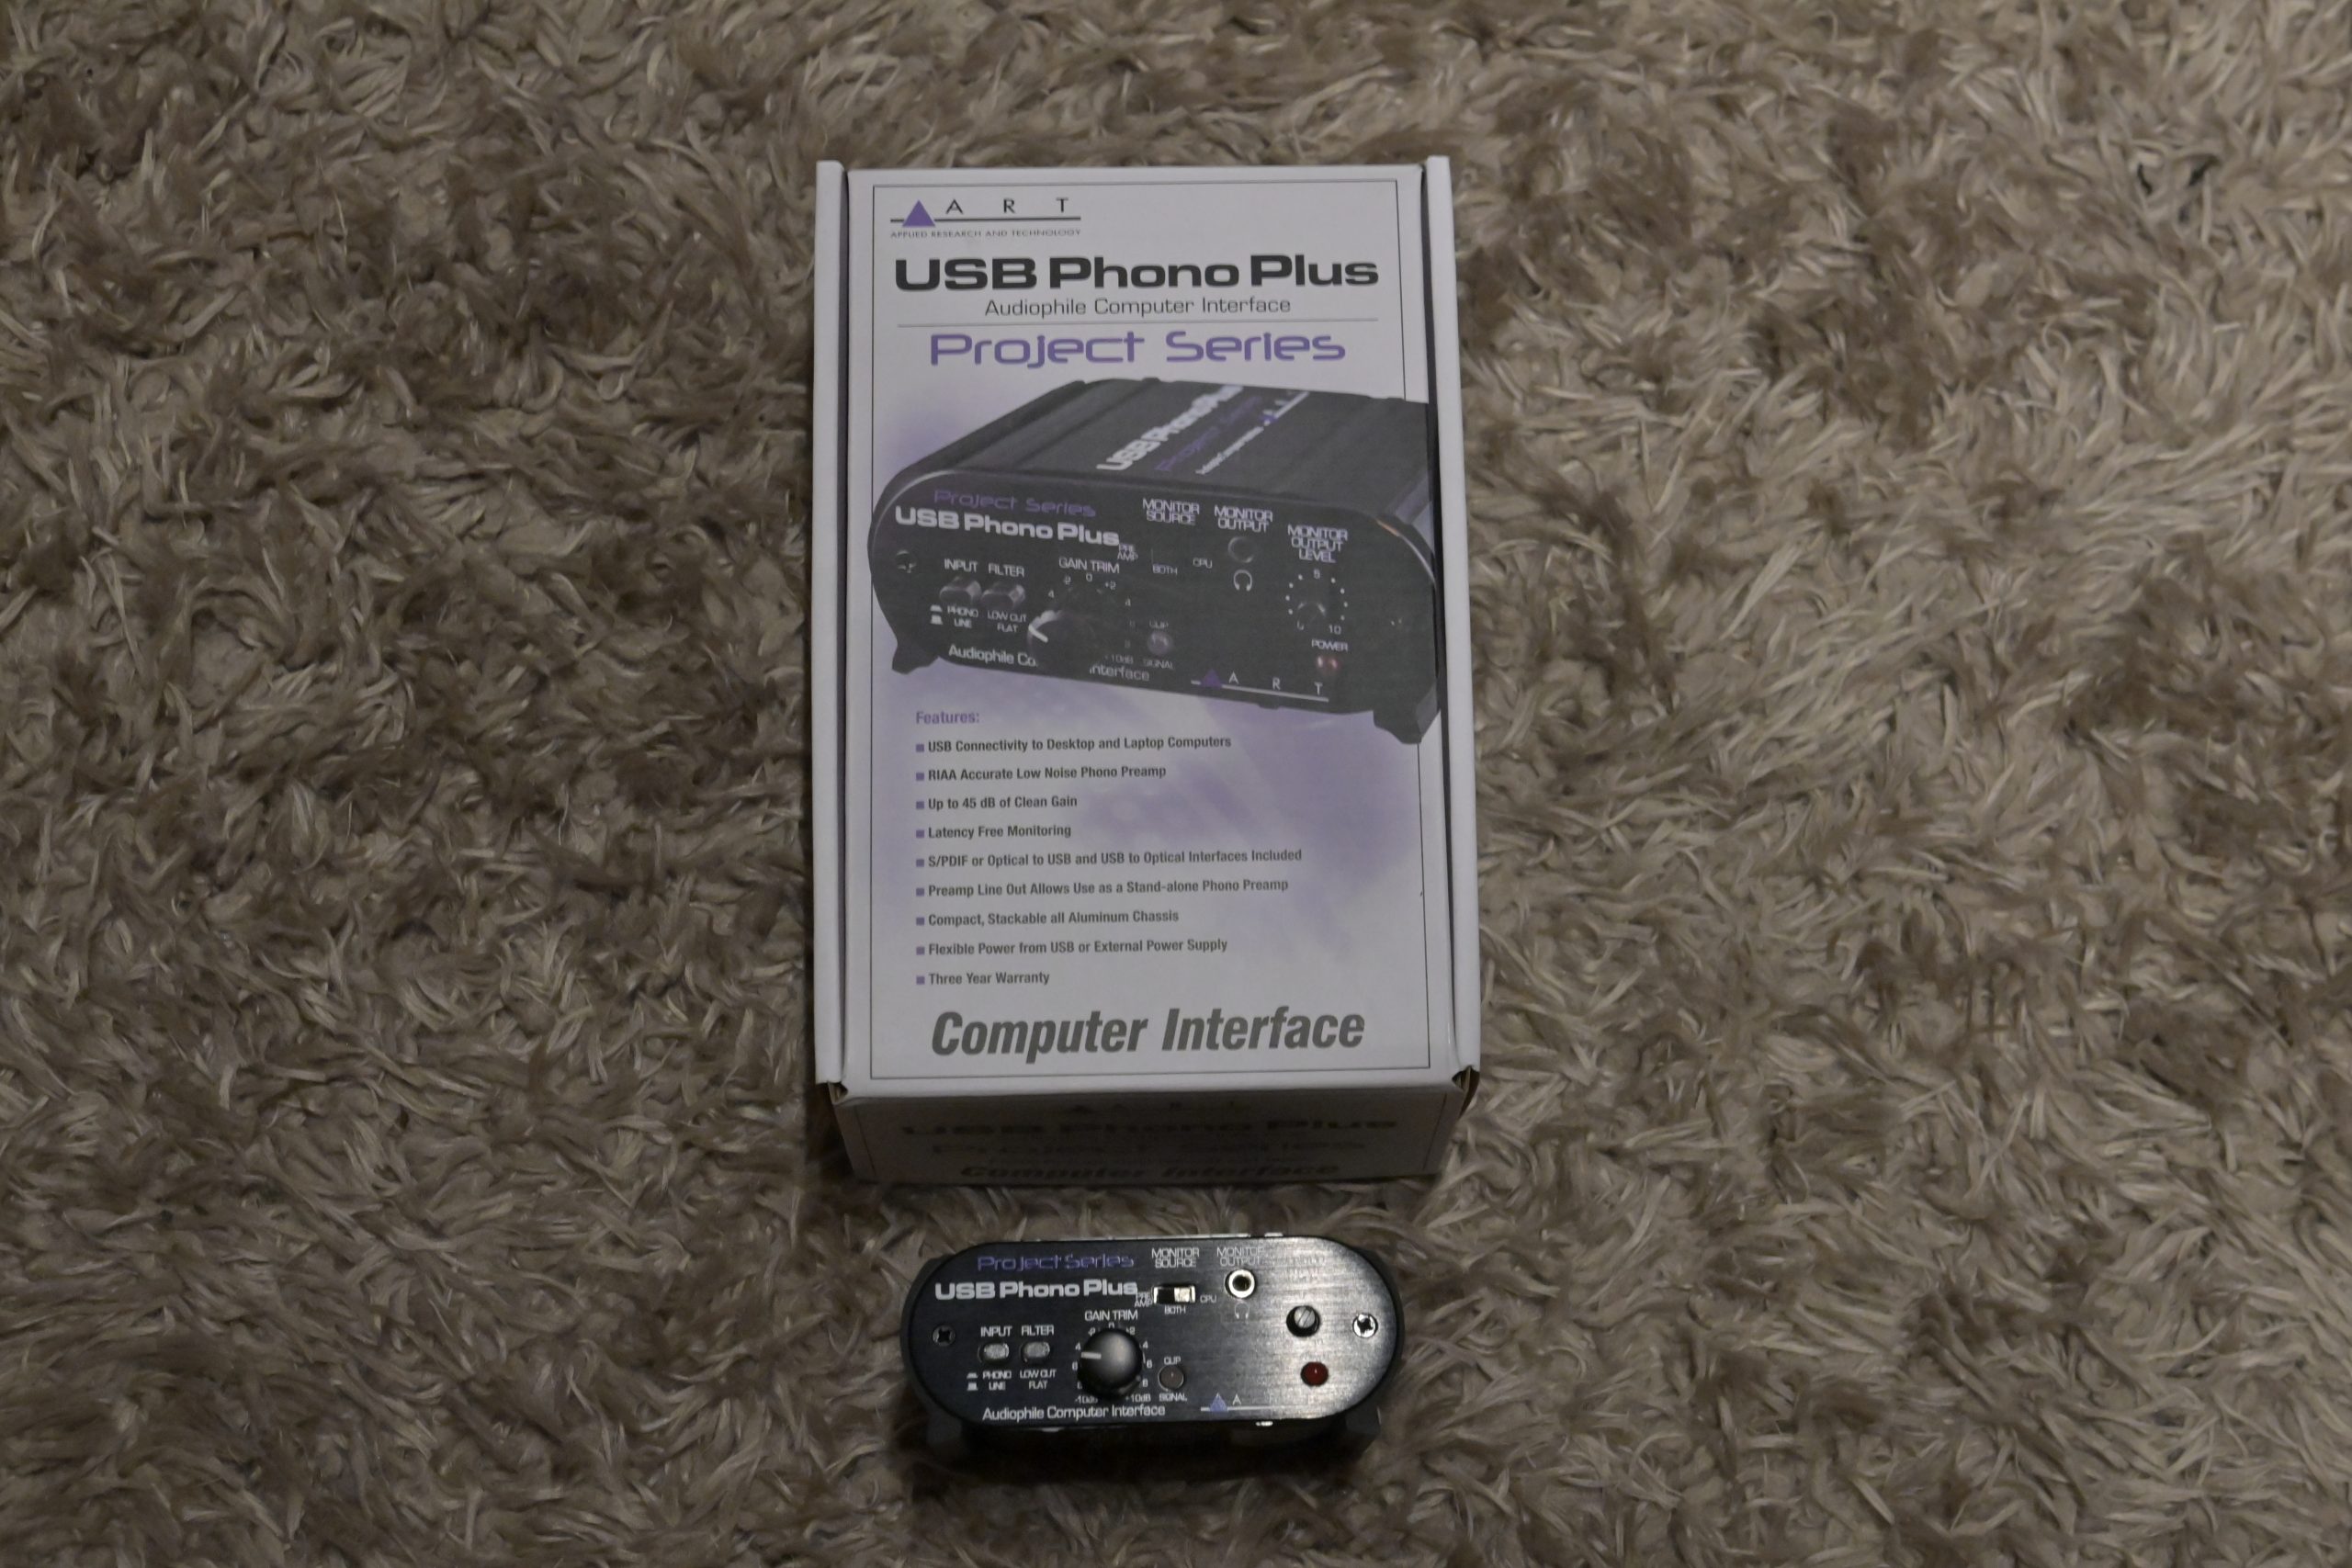
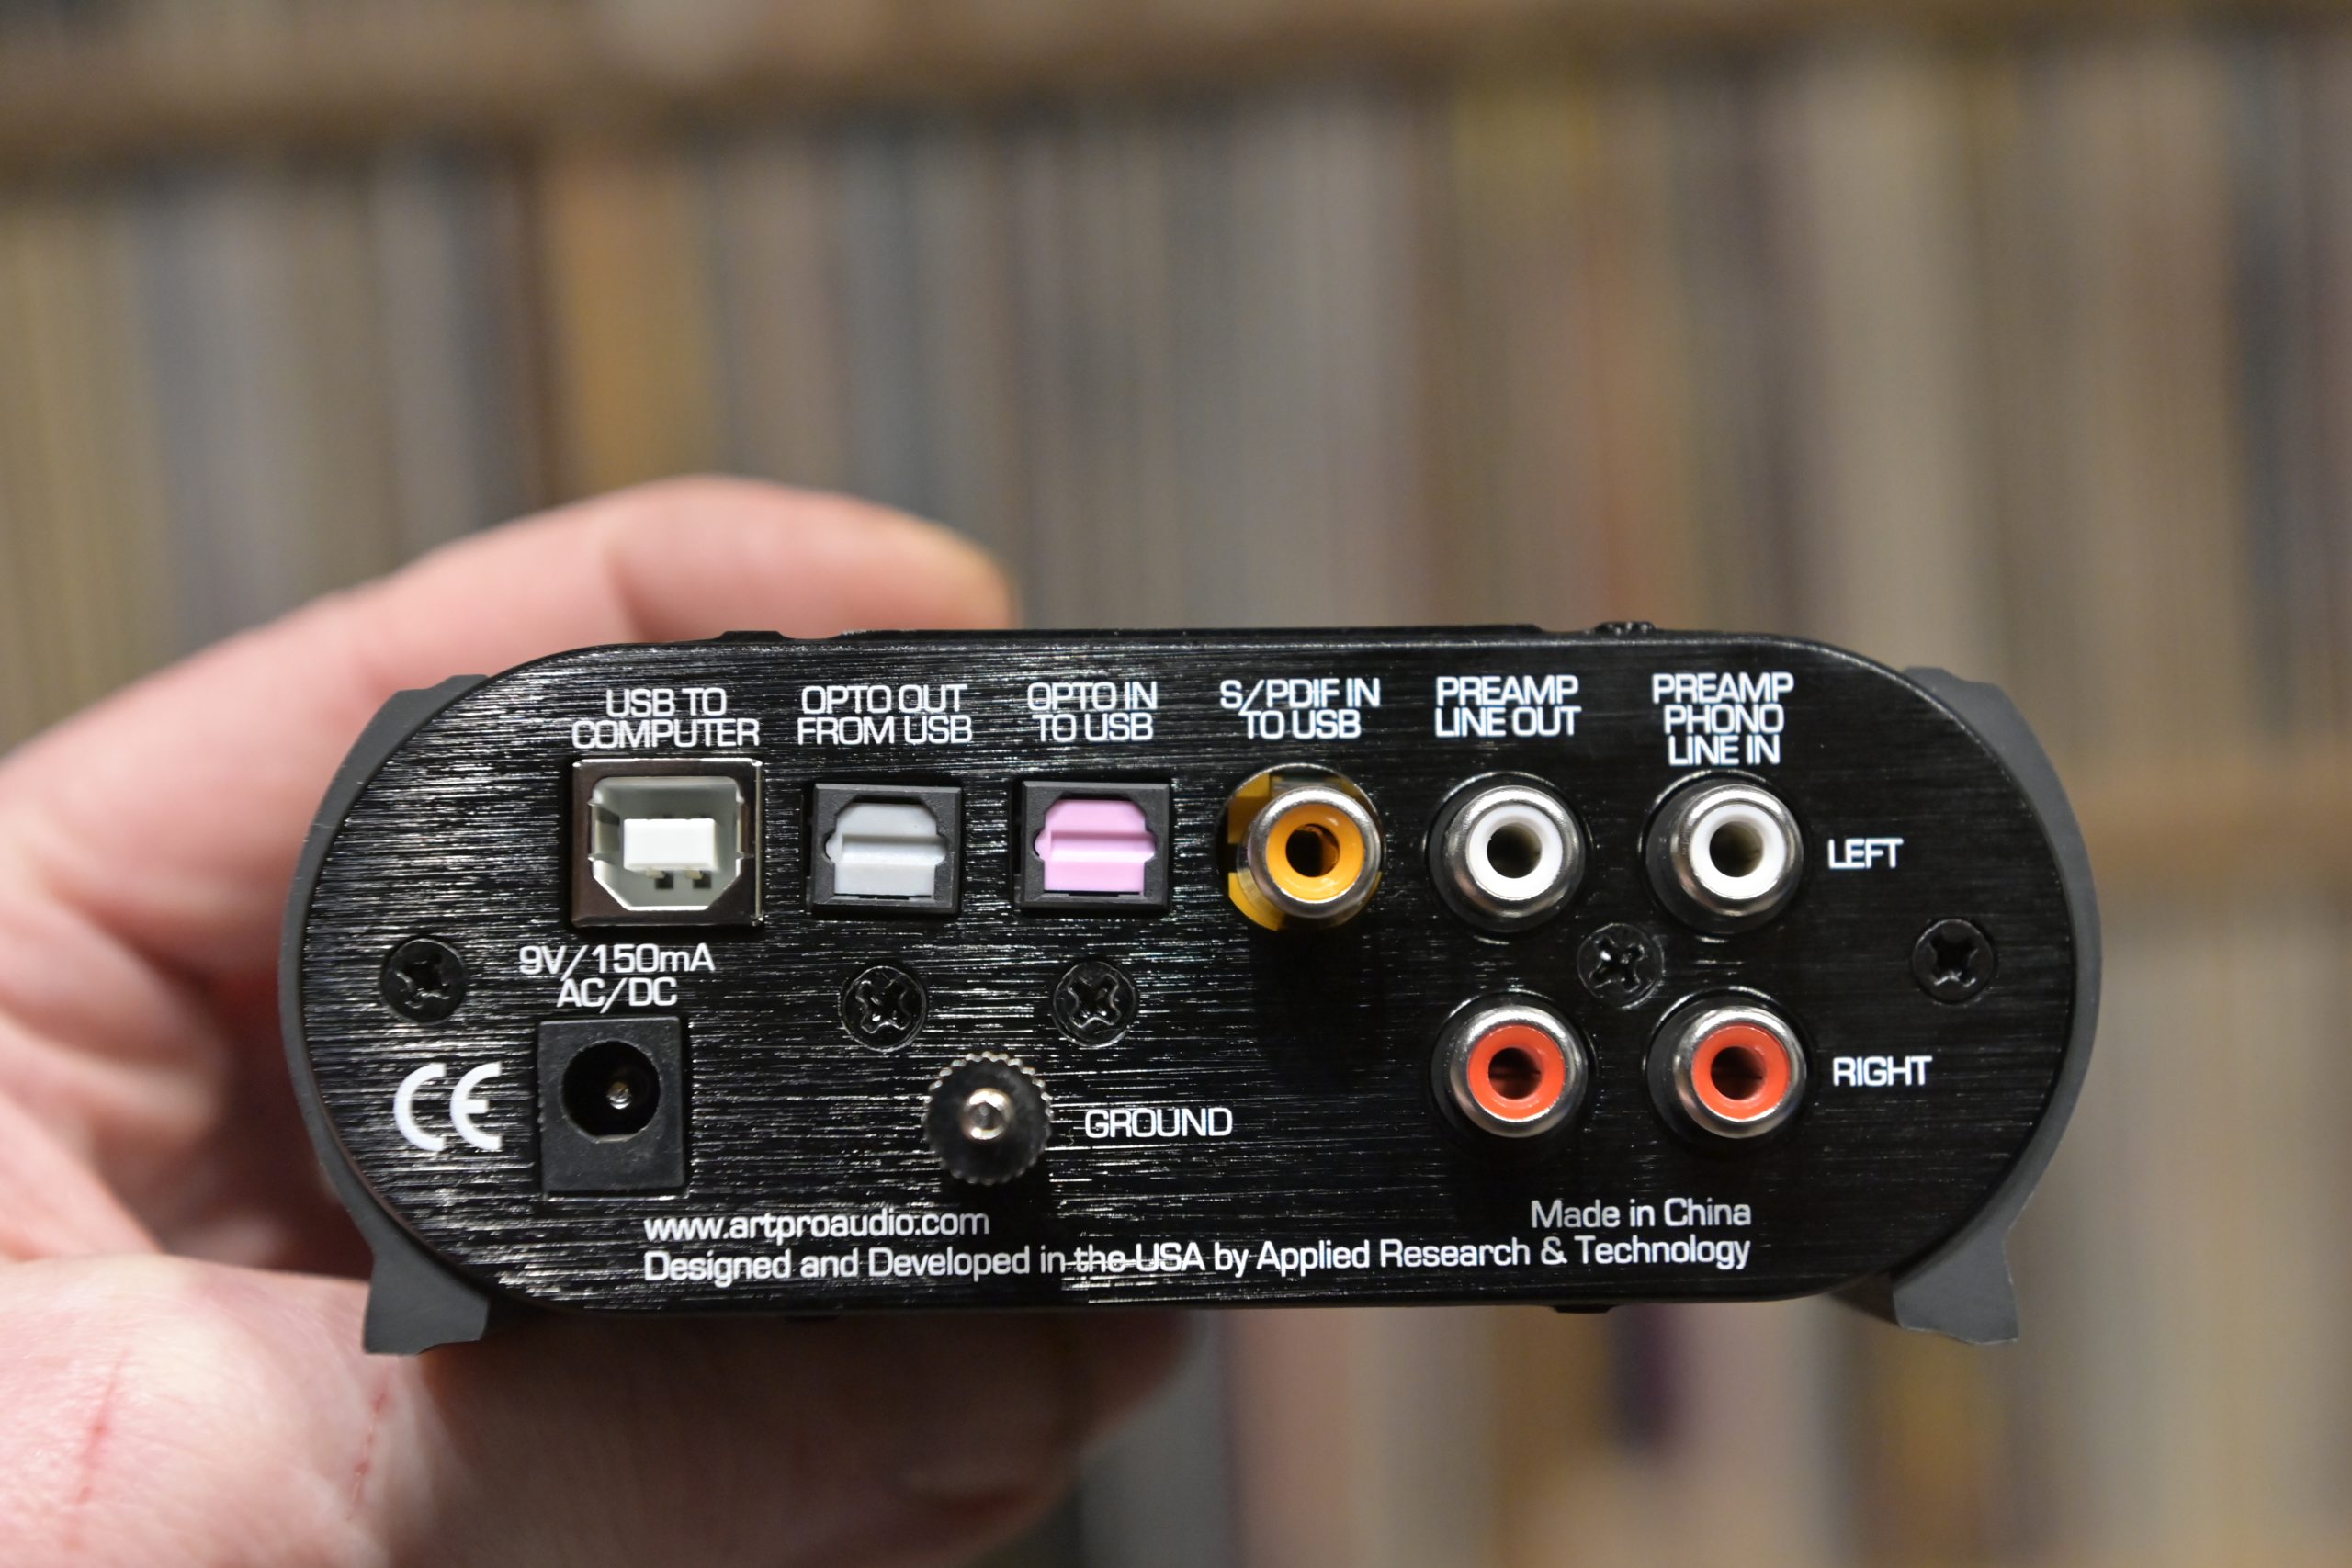
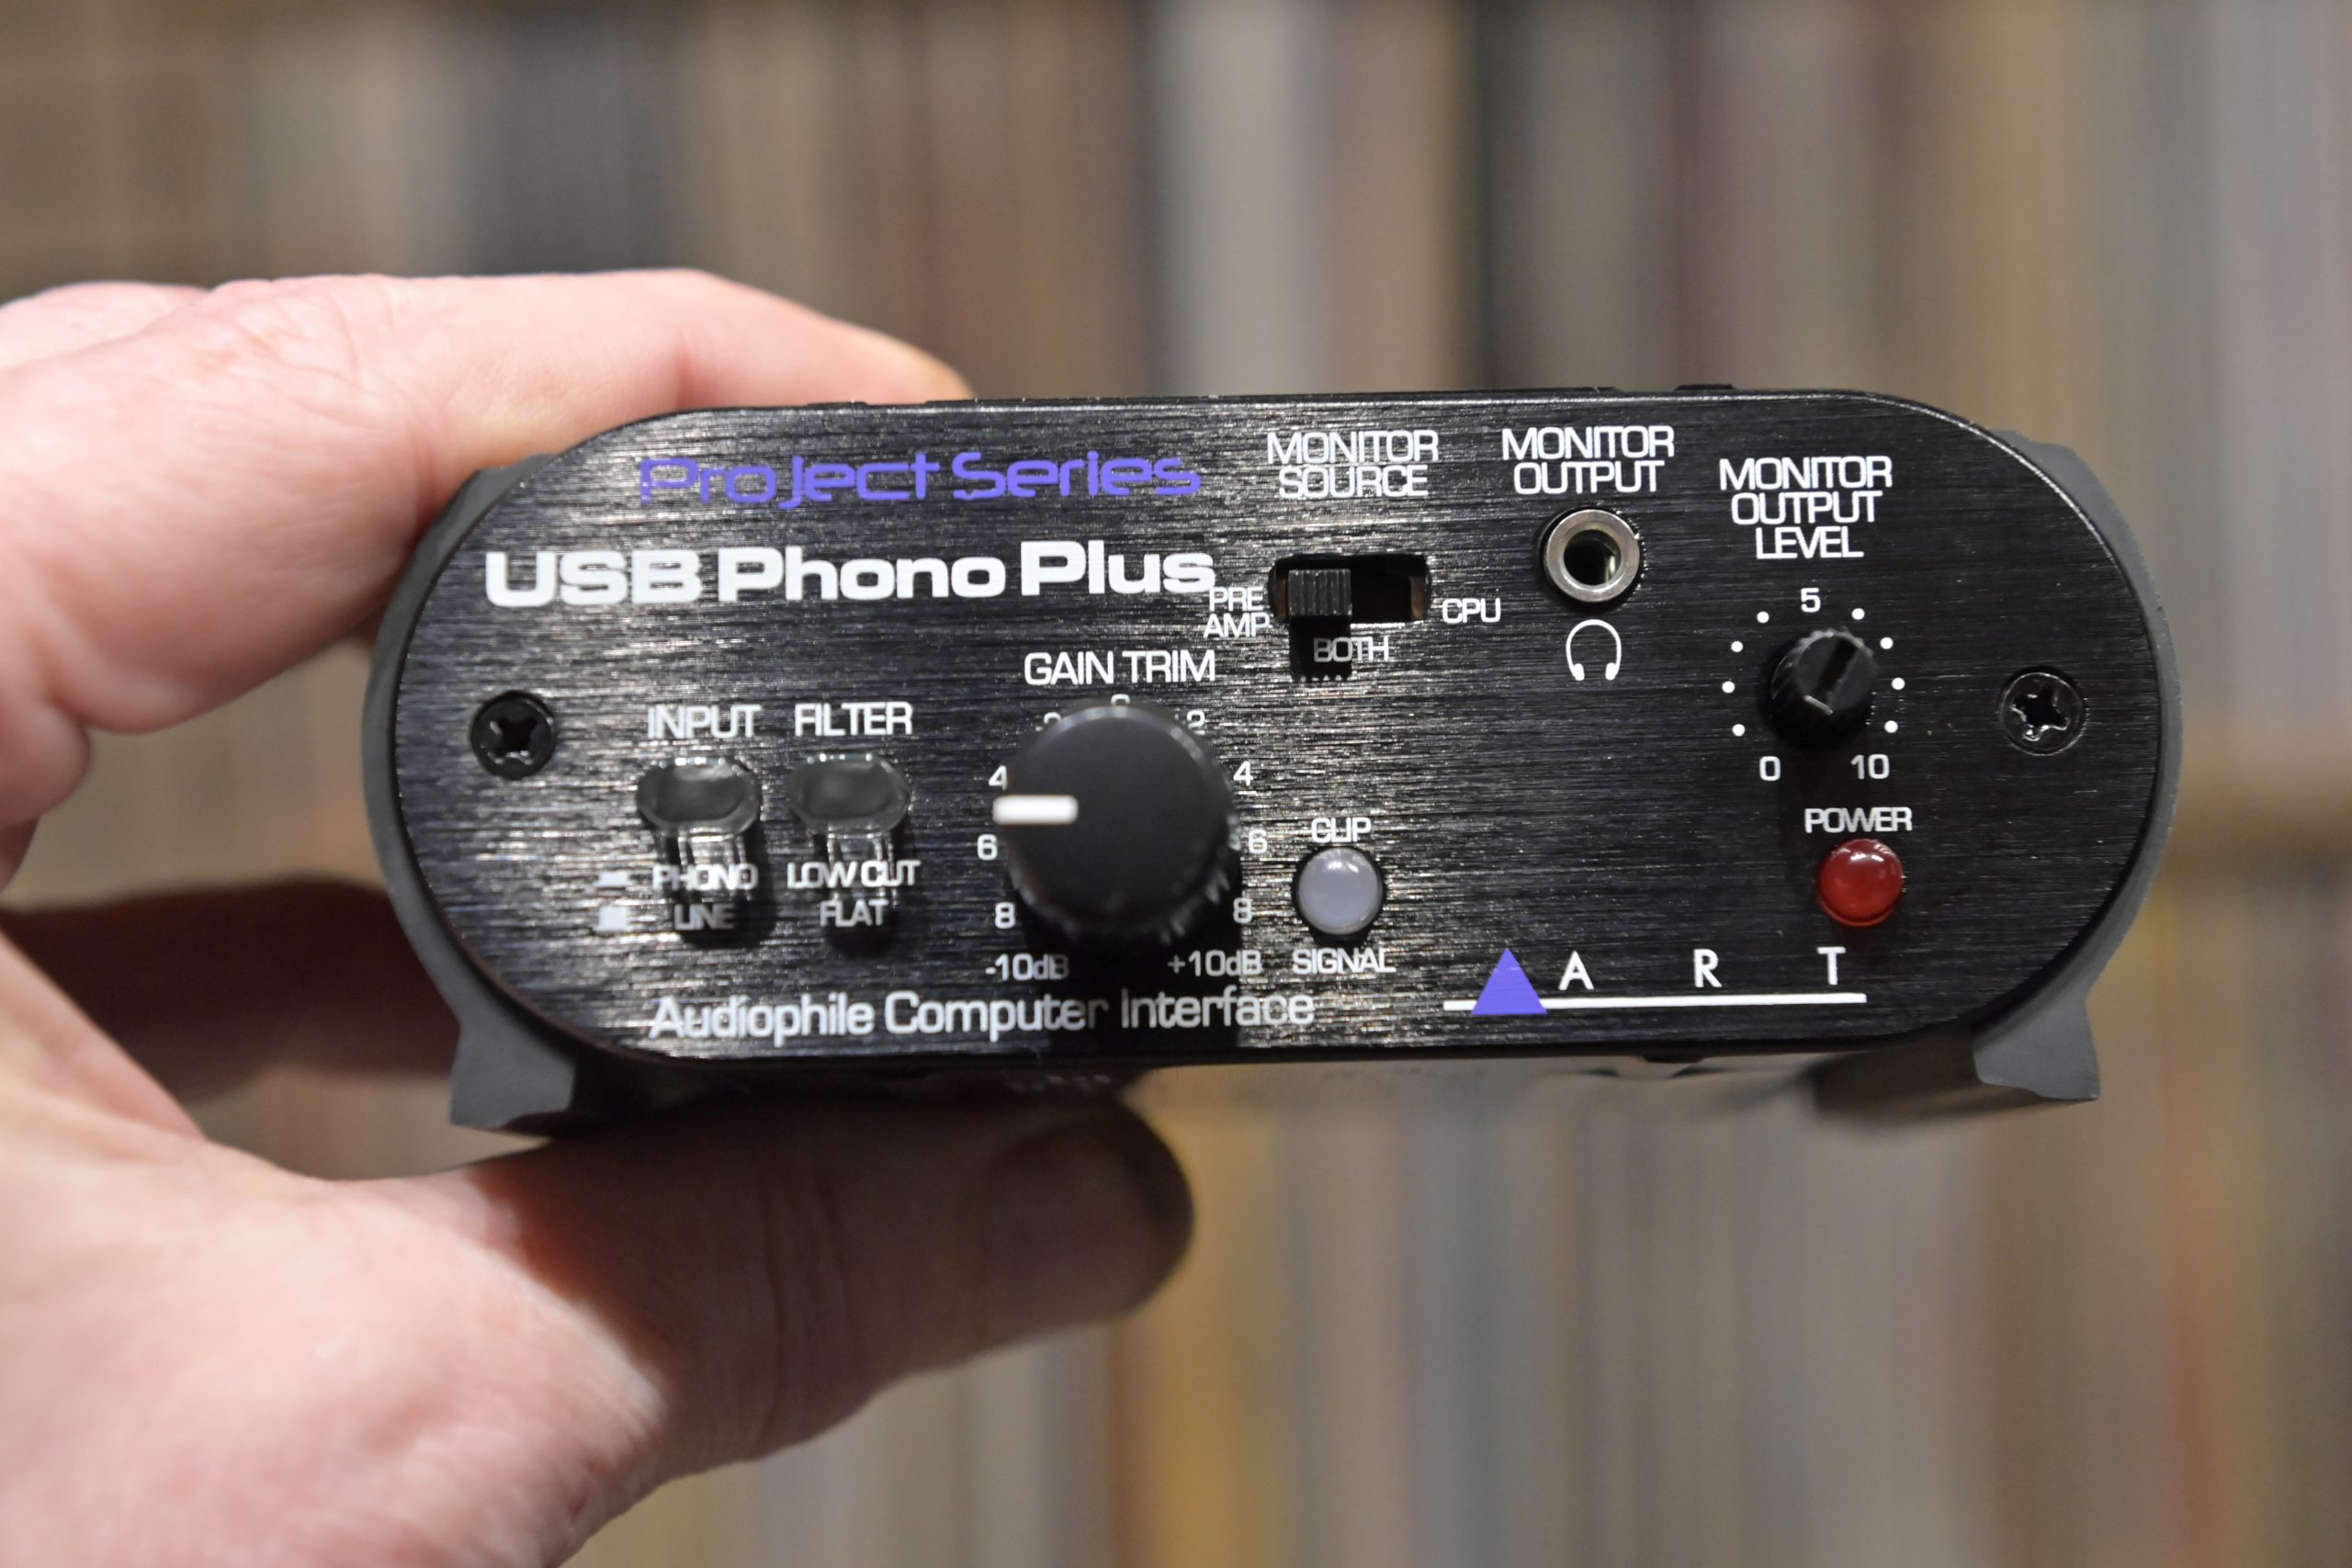
Gute Wahl. Endlich mal ne Soundkarte mit RCA Eingängen, nicht die sonst übliche 3,5mm Stereo-Klinke, die oft Kontaktprobleme hat! Treiber dazu direkt auf der Seite von AnalogMagik.
Installation ist ganz einfach:
Erst Treiber für Soundkarte installieren, dann Soundkarte einstöpseln (USB).
Anschließend Software für AnalogMagik installieren, USB Dongle einstecken – läuft auf Anhieb!
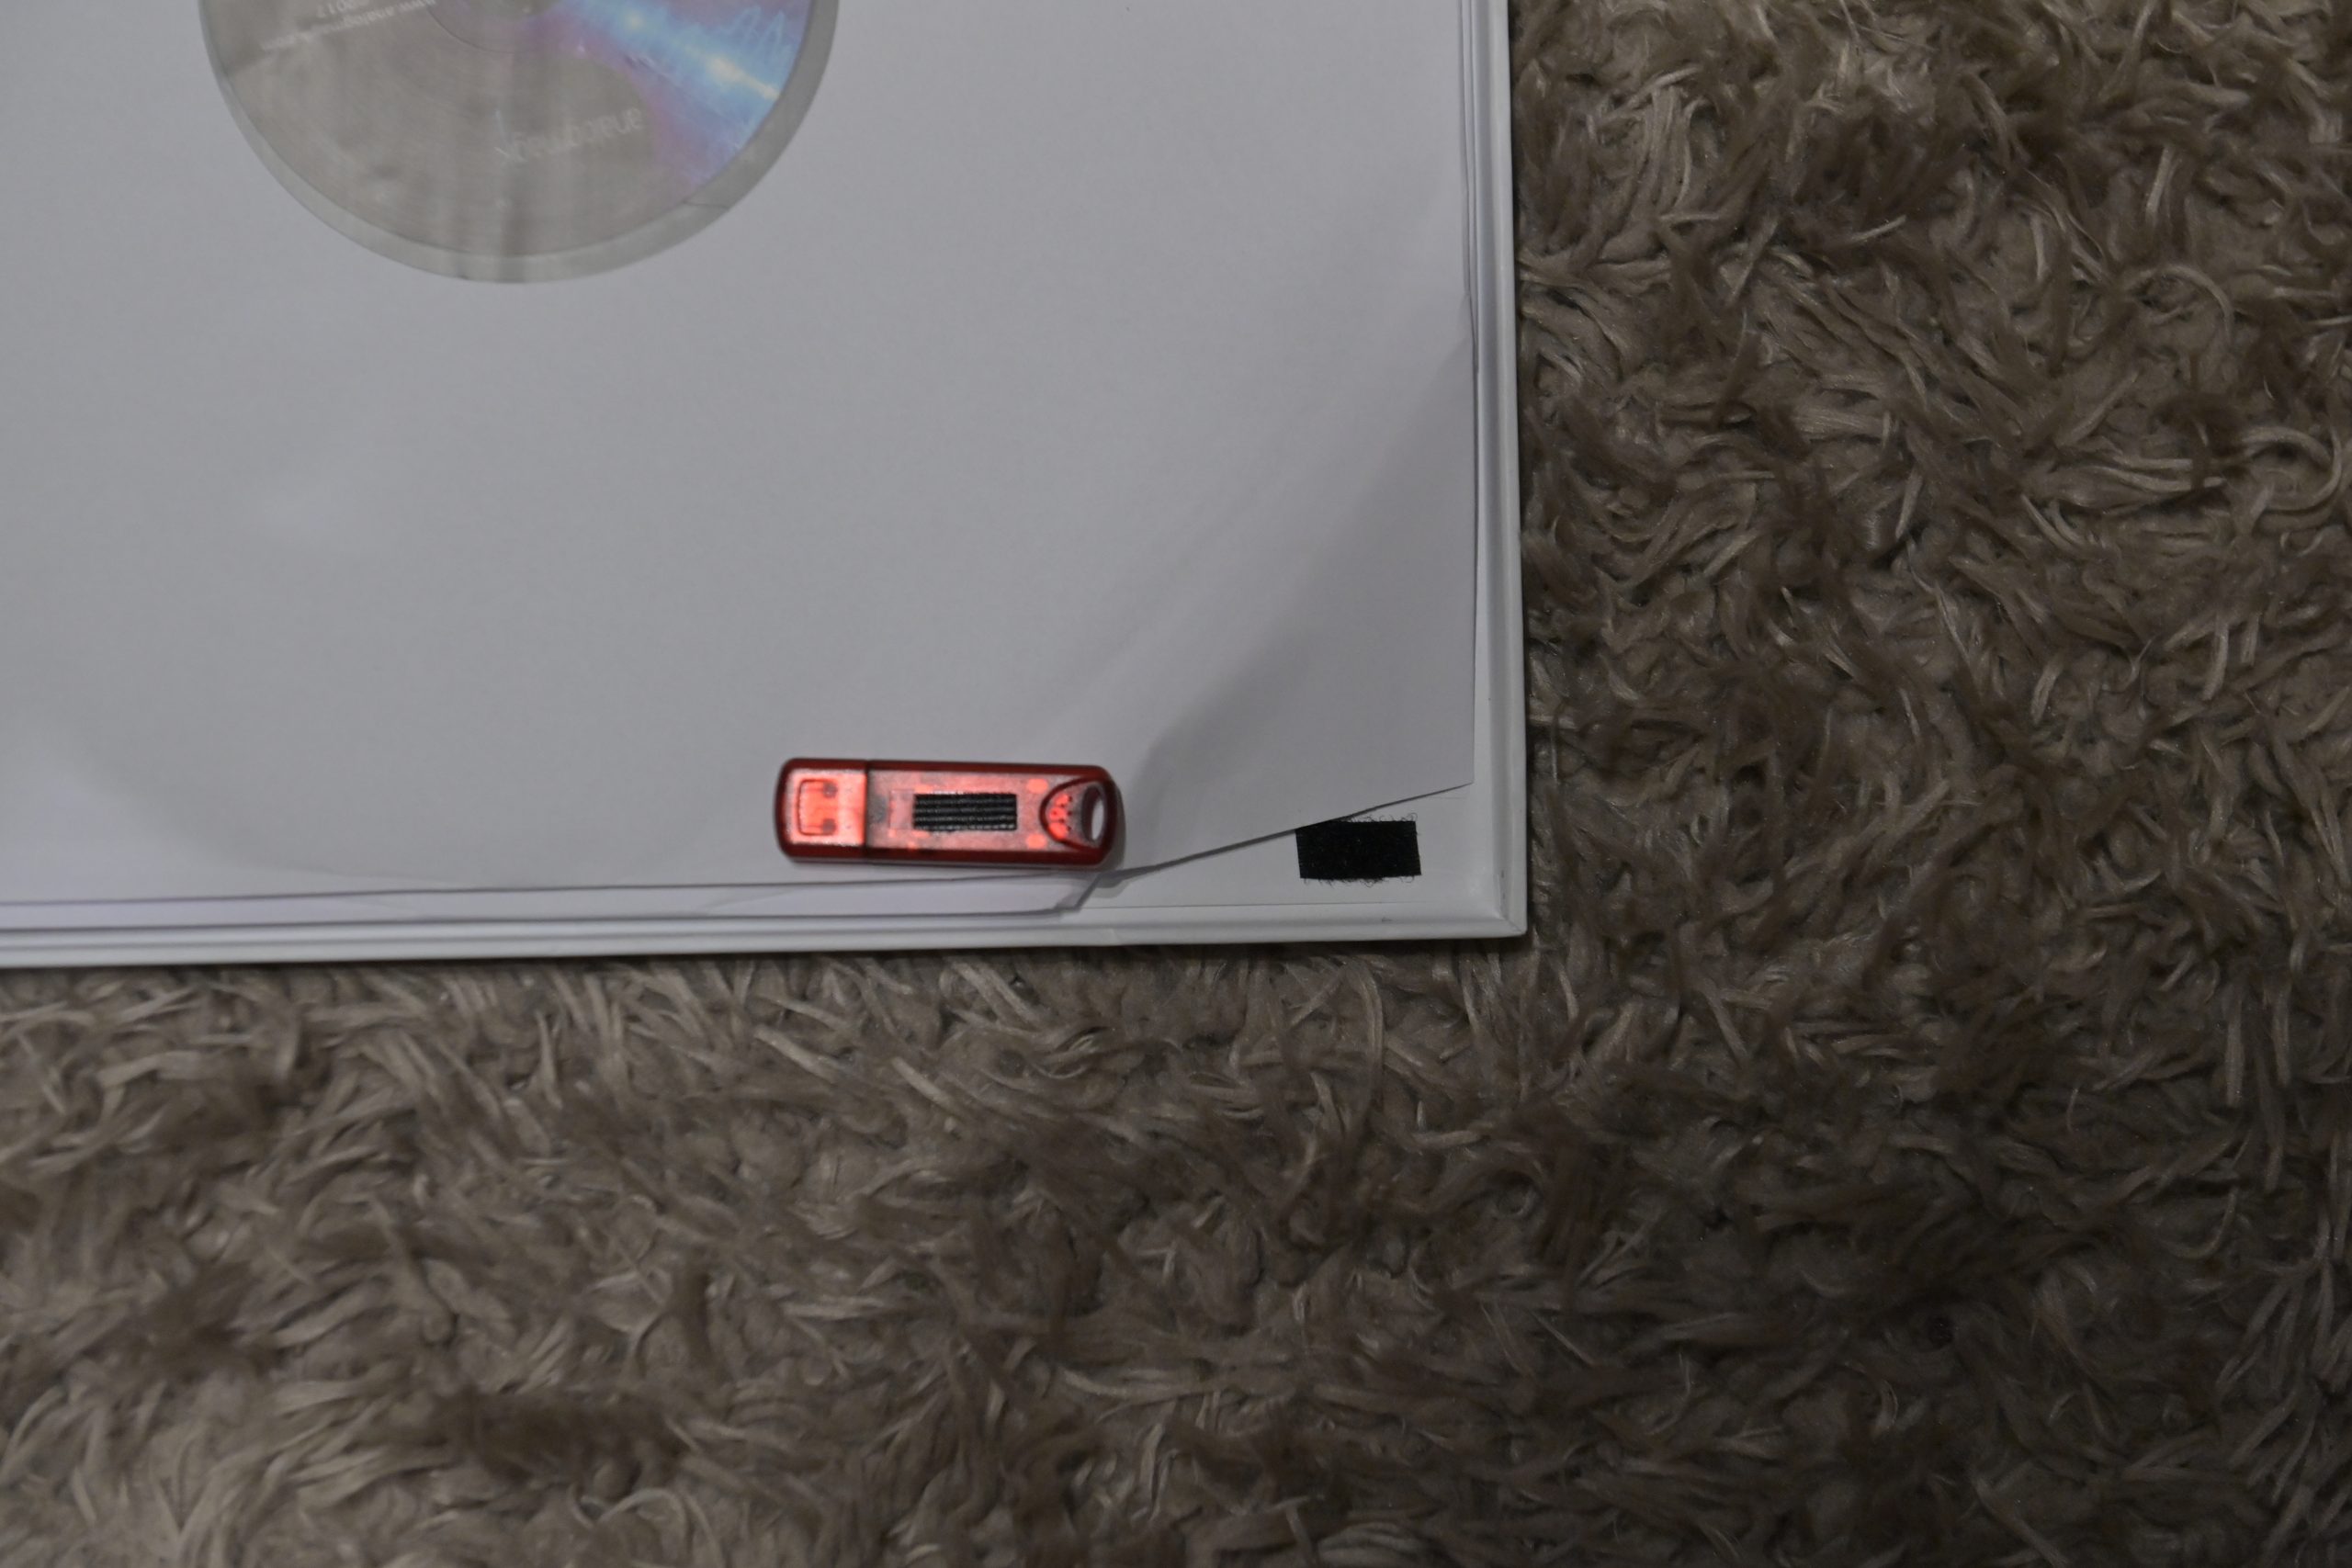
Hier sieht man die Liebe zum Detail: Der USB-Dongle ist mit einem Klettband befestigt, damit er beim Transport nicht die Meßschallplatten beschädigt!
Ich würde mit Messungen für Drehzahl /Wow and Flutter, sowie Tonarmresonanz anfangen.
Damit weiß man, dass grundsätzliche Parameter schon mal stimmen.
Die wirkliche Neuigkeit ist bei AnalogMagik wie Azimut, VTA und Auflagekraft gemessen werden!
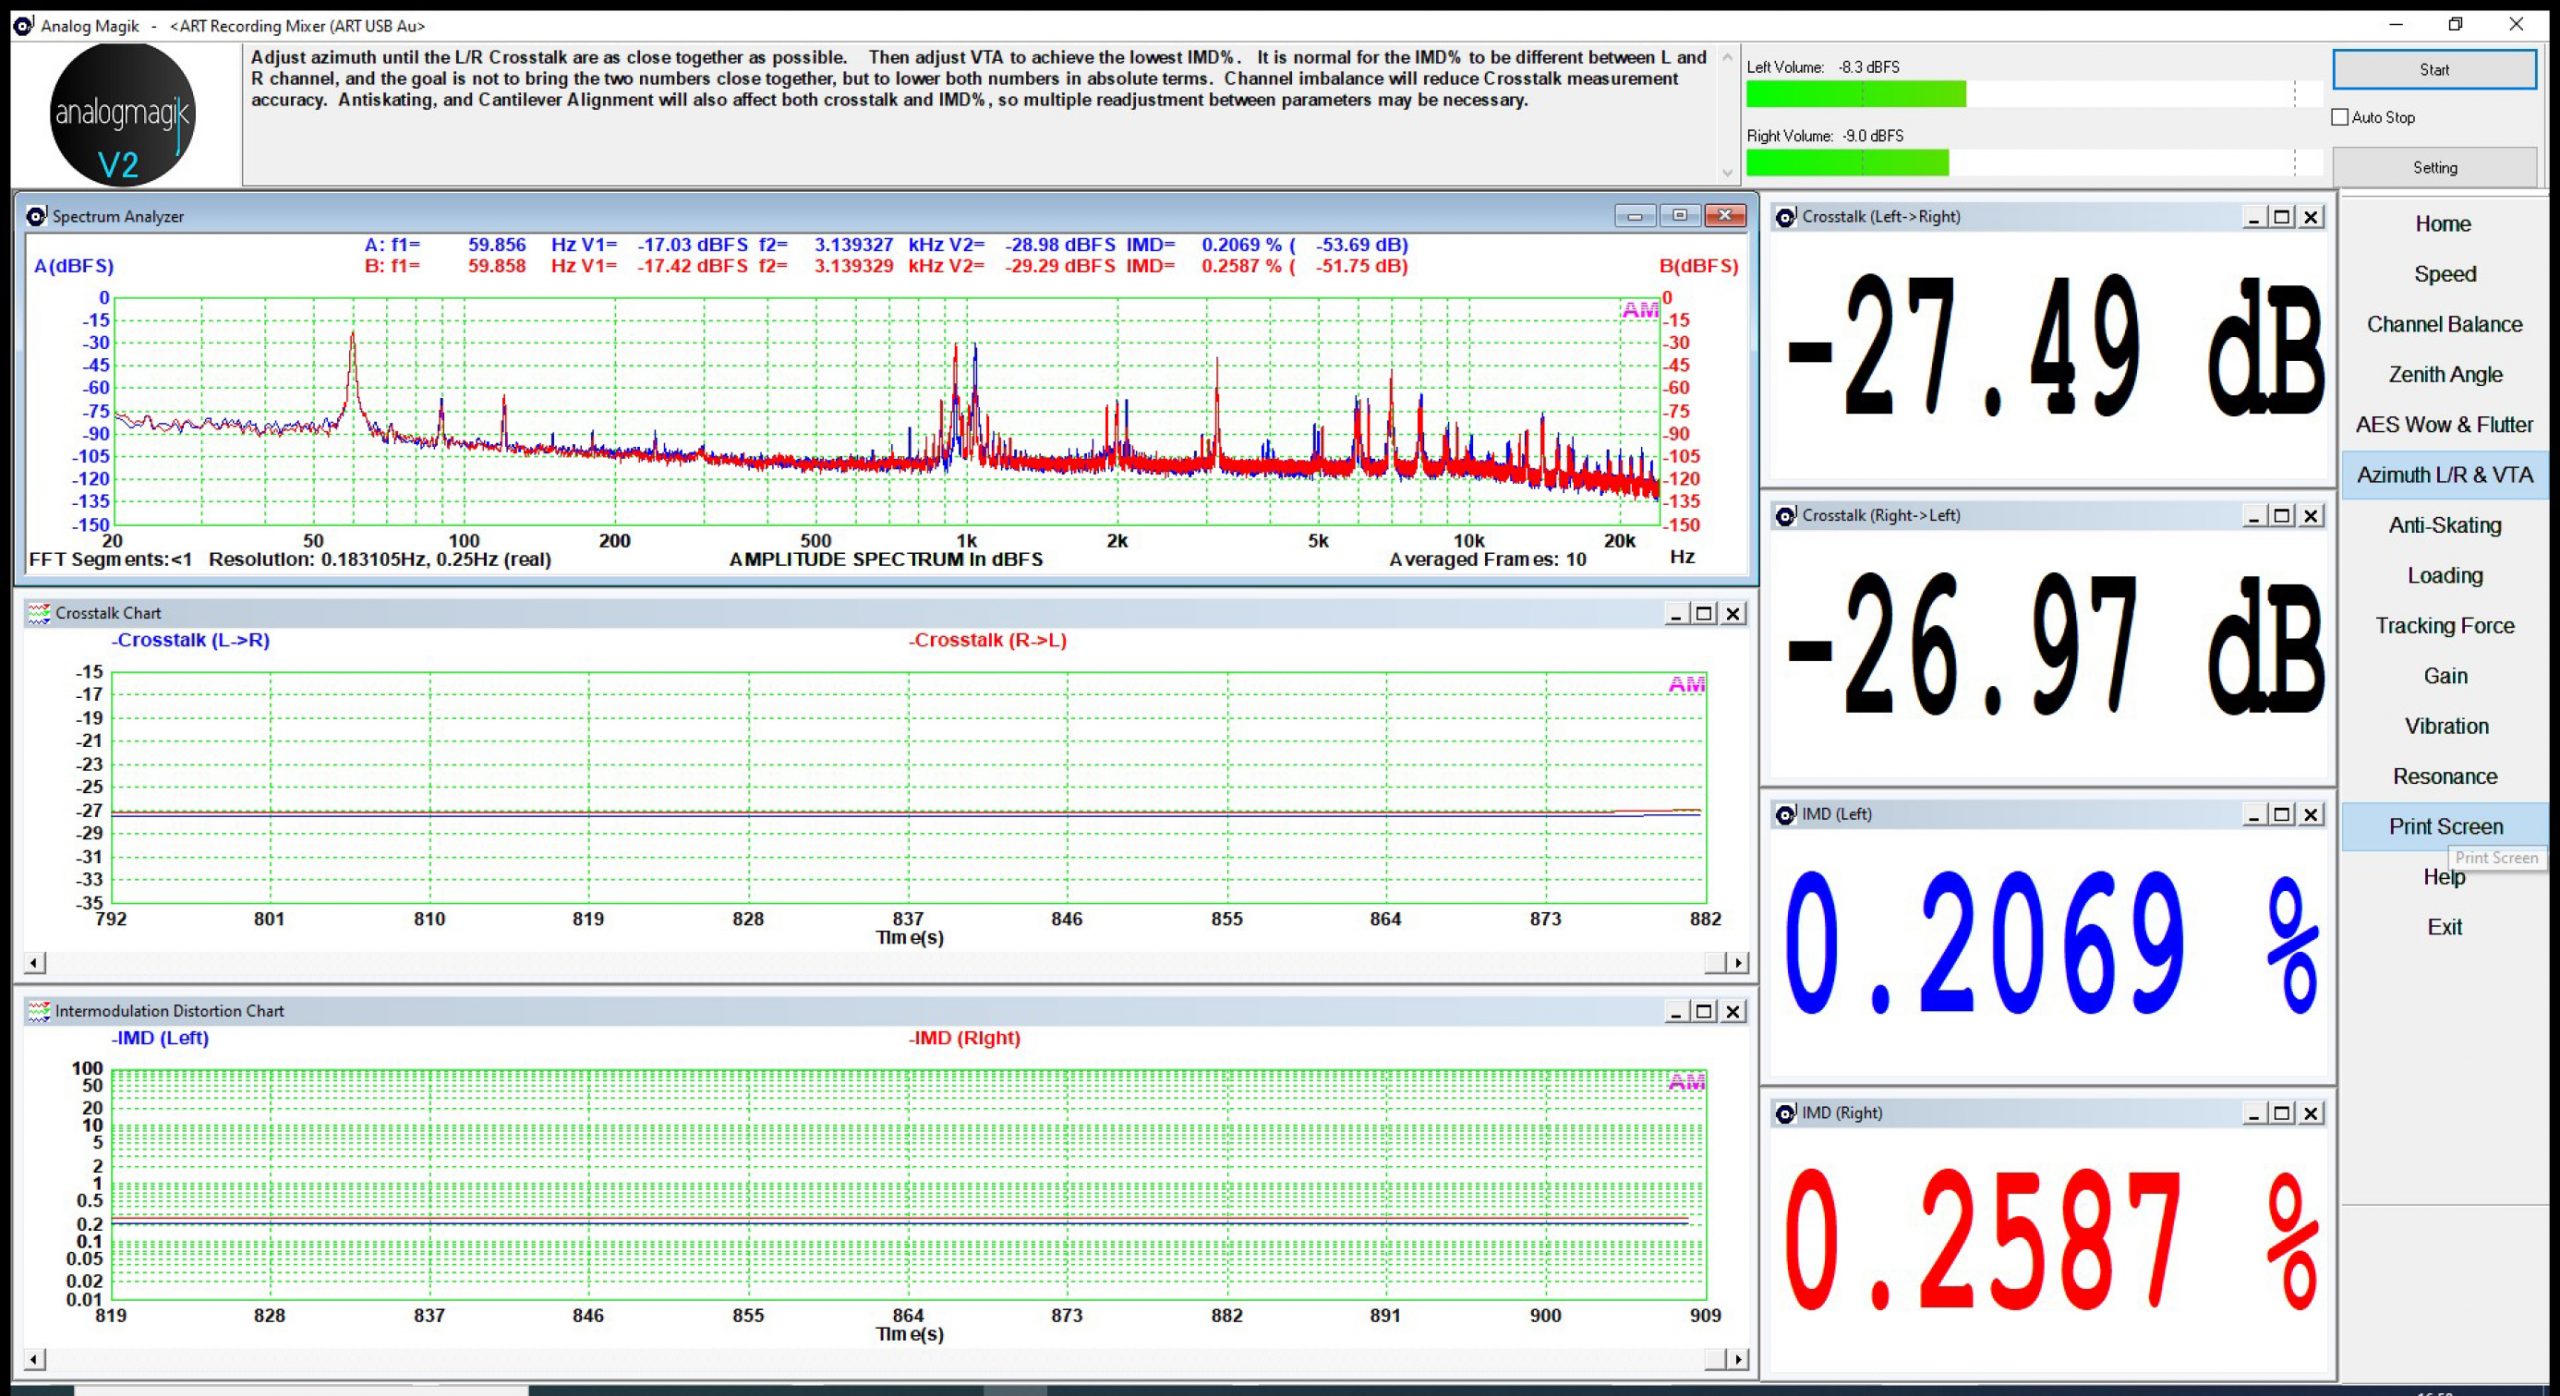
Hier gibt es verschiedene Testsignale auf den Testschallplatten. Die Herangehensweise ist besser und komplexer als bei anderen Lösungen. In erster Linie stimmt man auf möglichst geringe Verzerrungen (THD) oder Intermodulationsverzerrungen ab. Viel besser, als wie sonst z.B. den Azimut mit einem Mono-Signal und dann einem Signal nur für rechten oder linken Kanal zu messen. Damit bekommt man zwar messtechnisch gute Ergebnisse für den Tonabnehmer, kann sich aber auch Intermodulationsverzerrungen bis zu 10% einfangen! Da sich die Einstellungen gegenseitig beeinflussen, muss man sie mehrmals durchführen und in immer kleineren Schritten verändern. Bei dem Programm welches ich vorher benutzt habe Adjust+ von Dr. Freickert, stellte man z.B. den Azimut erst einmal grob in 0,5% Schritten ein, dann fein in 0,25% Schritten. Jetzt mit AnalogMagik sind Veränderungen schon unterhalb von 0,1° messbar und damit optimierbar. Und man stellt eben nicht nur den Azimut ein und dann den VTA nach Gehör, sondern beides gleichzeitig messtechnisch. Im selben Zyklus auch die Auflagekraft und sofern nötig die Anti Skating Kompensation.

Dies ist eine typische Azimut-Messung! Man beachte den eingebauten fft-Analyser!
Nach Optimierung (vorher mit Schablone und Adjust+ eingestellt) sieht es so aus:
![]()
Dies ist eine typische Messung der Auflagekraft.
Zusätzlich gibt es noch die Möglichkeit Vibrationen und Resonanzen zu messen. Hier kann man, sofern vorhanden, die Einstellung des Subchassis, Spannung des Antriebsriemens, Plattentellerauflagen, etc. messen und optimieren.
Die web-site von AnalogMagik ist sehr gut gemacht und erklärt die hier beschriebenen Einstellmöglichkeiten sehr gut verständlich und ausführlich.
Wie man meiner Beschreibung wohl entnehmen kann, der Einsatz dieses Programms erfordert Zeit, Geduld und einige Grundkenntnisse. Aber wenn man die Einstellung richtig optimiert hat, ist der Gewinn an Wiedergabequalität verblüffend! Nachdem ich bei mir optimiert hatte, spielte mein My Sonic Lab Signature Gold eine gehobene Preisklasse besser. Raum breiter und tiefer, Details klarer und präziser wiedergegeben, Ein- und Ausschwingverhalten natürlicher, Bass strammer, Höhen seidiger. Ich selbst bin schlicht und einfach begeistert!
Das Programm ( 2 x Testschallplatte 33,3 / 45 rpm, USB Dongle) kann ich für € 1100.- zzgl. MwSt. anbieten. Ich kann mir vorstellen, der eine oder andere zuckt jetzt bei diesem Preis zusammen. Wenn ich mir ansehe, was in der professionellen Messtechnik Software Optionen mit einem vergleichbaren technischen Umfang kosten – z.B. bei Oszilloskopen,vwo man schnell € 4000.- bis € 8000.- zahlt, dann ist das Programm als günstig zu bezeichnen! Die vorgegebene Soundkarte bekommt man für ca. € 125.-
English:
Sometimes there are innovations in audio that represent real progress. The system from AnalogMagik (https://www.analogmagik.com/) as a V2 version is definitely one of them! Why is this system such a groundbreaking improvement? For this I have to go back a little further and explain the assembly and adjustment process of a pickup. I assume that you have a tonearm with reasonable geometry. Then you mount the pickup to the headshell and start with the mechanical basic adjustment. On the one hand I use the template from Acoustical Systems (https://www.arche-headshell.de/alignment-tools/p-a-s-the-professional-phono-alignment-set/) Here an optimal scanning point is determined, depending on the selected geometry and at the same time you measure the distance between the turntable axis and the pivot point of the tonearm. The template is very well made and accurate. To check, I use a program to print my own template with the selected geometry and the one above measured pivot to spindle distance. This template then marked the two zero crossings. Using this, I measure at 3 points whether the mechanical setting is correct. With pickups whose housing does not have straight edges and/or where the cantilever sits deep under the housing, this can become quite difficult from a purely visual point of view. But it can be done with good lighting and a magnifying glass or USB microscope. The pickup system is mounted as a starting position so that it is exactly perpendicular to the record when viewed from the front and exactly parallel to the record when viewed from the side. Then set the tracking force to the middle of the range recommended by the manufacturer and, if everything were optimal, you’d be done!
But unfortunately, that’s not the case! The diamond often does not sit perfectly in the cantilever. I have often measured deviations of up to 2°, even with high-priced top pickups. This is where the work of fine-tuning and measurement technology begins. The first question is: Which parameters may need to be adjusted? Tracking force that is clear. Azimuth when the needle is not optimally mounted straight (seen from the front). Then VTA or SRA These abbreviations Vertical Tracking Angle and Stylus Rake Angle basically describe the same parameter, namely the angle at which the diamond dips into the record groove when viewed from the side. According to popular opinion, 92° is optimal here. Then there is the zenith angle – if you look at the pickup from above, whether the diamond is exactly at right angles to the cantilever, or whether it was mounted slightly rotated. By the way, all parameters influence each other!
Every MC pickup has a high-frequency resonance due to its design. This is dampened with a corresponding load resistance, should it be necessary. Then there is the trackability – i.e. the modulation in µm that a pickup can track without distortion. At least 60µm should be achieved. Another topic is anti-skating: Background: Due to the offset of the tonearm, it is pulled inwards during playback depending on the modulation. As a result, a groove flank is loaded more. To compensate for this, you “pull” the tonearm outwards, e.g. with a weight or magnet. This is a sub-optimal solution, since this compensation can never be exact. The good news with 12″ tonearms (or longer) and more than approx. 2g tracking force you don’t need skating compensation… For the sake of completeness, the horizontal and vertical resonance frequencies are measured with a low-frequency sweep on a test record. This should be in the range between 8 Hz and 12 Hz. If it is lower, the tonearm is too heavy and/or the stylus compliance is too high (specified as „Compliance“ in data sheets). Conversely, if the resonance frequency is too high, the tonearm is too light or the stylus deflection is too low. Why this range between 8-12 Hz? Well below that, at around 2 Hz, there are excitations from eccentric or warped platterrs (at 33.3 rpm) – you want to keep your distance from that. At 20 Hz there can (very rarely) be signals on the record. That way you have selected a range in which the resonant frequency of needle compliance and tonearm weight is in a range that causes as little additional interference as possible. Synchronization constancy and speed are of course also measured. With AnaloMagik you can perform all of the aforementioned measurements and set and optimize the parameters. In the past, you needed several pieces of equipment, e.g. audio analyzer, oscilloscope, various measuring records, tachometer, etc… Here you have everything together and the crucial parameters are measured much more precisely. In particular, their mutual influence. For this purpose, the corresponding signals are available on the test records in a new configuration that has not existed before. Now for a more detailed description: The sound card to be used is specified. Good choice. Finally, a sound card with RCA inputs, not the usual 3.5mm stereo jack that often has contact problems! Drivers directly downloadable on the AnalogMagik website.
Installation is very easy: First install the driver for the sound card, then plug in the sound card (USB). Then install the software for AnalogMagik, plug in the USB dongle – runs straight away! I would start with measurements for RPM/Wow and Flutter, and Tonearm Resonance. This way you know that the basic parameters are correct. The real news at AnalogMagik is how Azimuth, VTA and Tracking Force are measured! There are different test signals on the test records. The approach is better and more complex than other solutions. First and foremost, you tune to the lowest possible distortion (THD) or intermodulation distortion. Much better than measuring e.g. the azimuth with a mono signal and then a signal only for the right or left channel, as is usually the case. With this you get good results for the pickup, but you can also catch intermodulation distortions of up to 10%! Since the settings influence each other, you have to carry them out several times and change them in smaller and smaller steps. With the program I used before, Adjust+ by Dr. Freickert, for example, you set the azimuth roughly in 0.5% increments, then fine in 0.25% increments. Now with AnalogMagik, changes of less than 0.1° can be measured and thus optimized. And you don’t just set the azimuth and then the VTA by ear, but both at the same time. In the same cycle, the tracking force and, if necessary, the anti-skating compensation. There is also the option of measuring vibrations and resonances. Here you can, if available, measure and optimize the setting of the subchassis, tension of the drive belt, turntable supports, etc. The AnalogMagik website is very well designed and explains the setting options described here in a very understandable and detailed manner. As you can probably see from my description, the use of this program requires time, patience and some basic knowledge. But if you have optimized the setting correctly, the gain in playback quality is amazing! After optimizing mine, My Sonic Lab Signature Gold it performs a higher price range better. Room is wider and deeper, details are reproduced more clearly and precisely, transient and decay behavior is more natural, the bass is tighter and the treble is silkier. I myself am simply thrilled! I can offer the program (2 x test records 33.3 / 45 rpm, USB dongle) for € 1100 plus VAT. I can imagine that one or the other will wince at this price. When I look at what software options with a comparable technical scope cost in professional measurement technology – e.g. for oscilloscopes, where you quickly pay € 4000 to € 8000.-, then the program can be described as cheap! You can get the default sound card for about € 125.-